Safe delivery of wooden products across Europe within 15 working days.
Read more

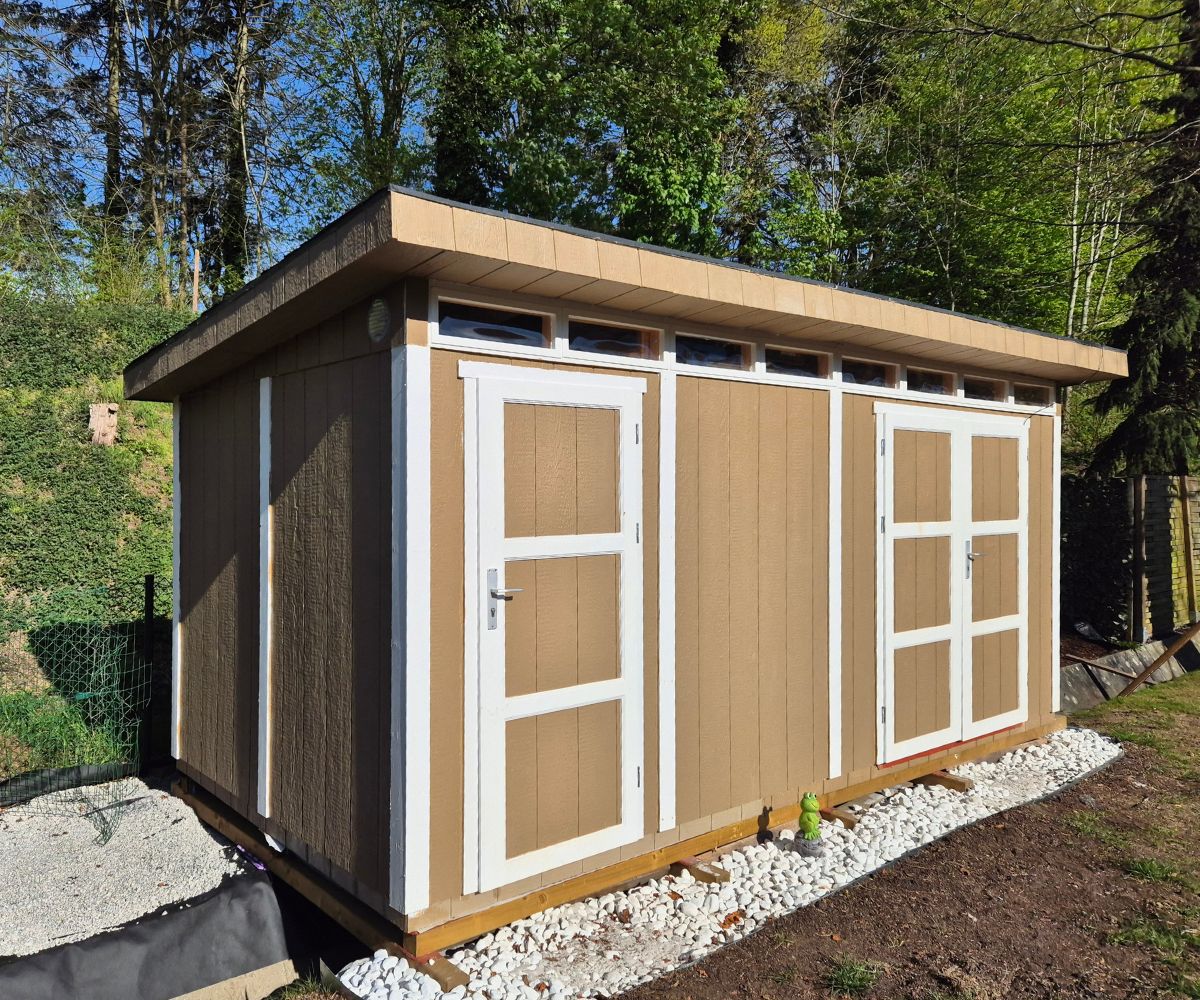
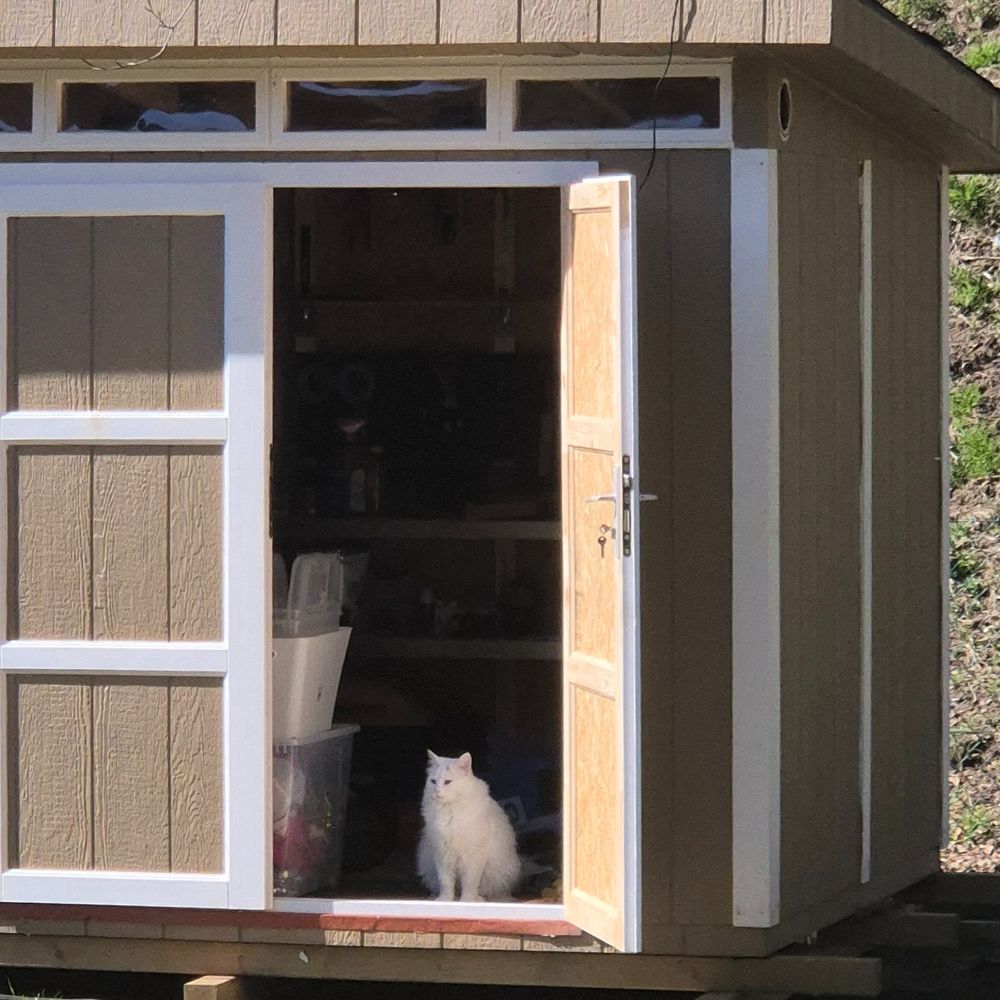
A customer living in Belgium decided it was finally time to add some extra space for storing garden tools, outdoor furniture, and bikes. Instead of choosing a ready-built shed, he opted for a more ambitious path – building a wooden garden shed himself. His choice? A Timbela shed made with LP® SmartSide® panels. This was his first DIY project of this scale, and it turned out to be both a practical solution and a rewarding personal experience.
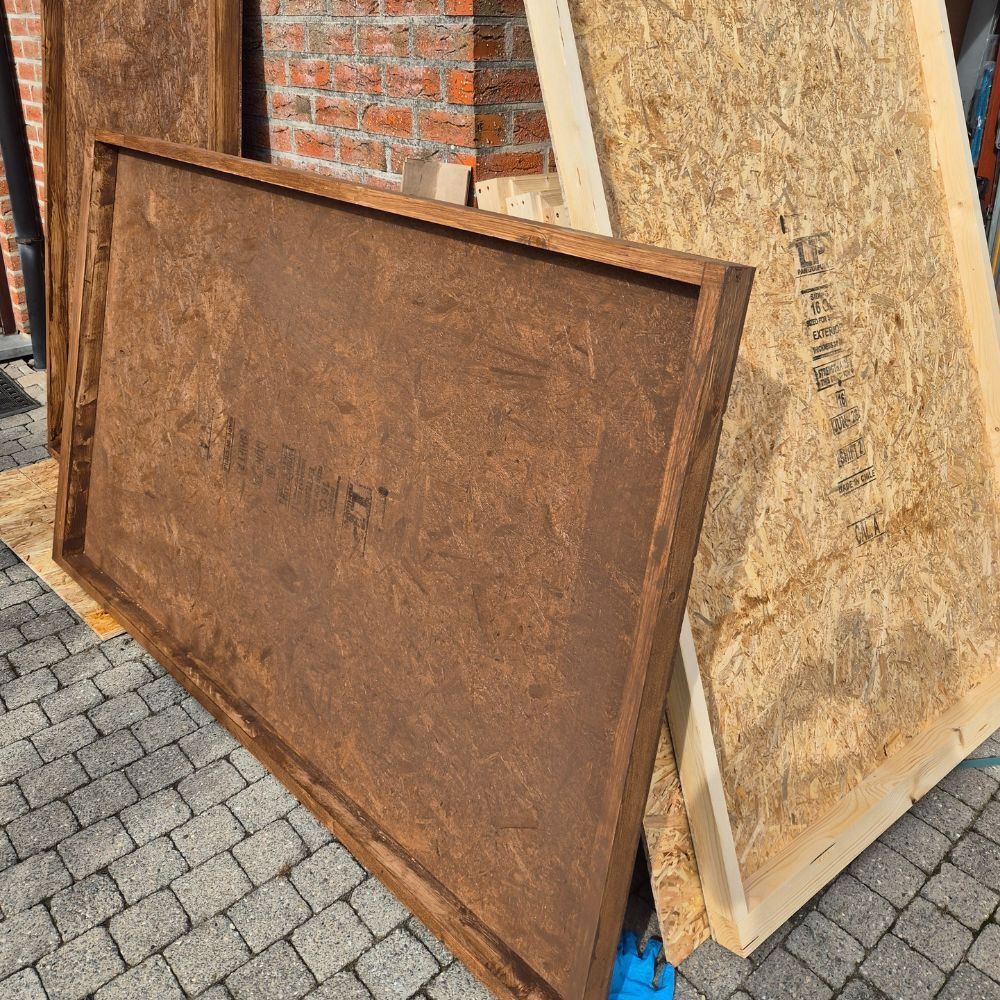
Initially, the customer explored local DIY stores and online retailers in Belgium, but nothing caught his attention. “I found only very basic wooden sheds – often without flooring, wind protection, or moisture resistance. And the prices were much higher than I expected.” Then, he came across Timbela’s LP® SmartSide® sheds. Although unfamiliar with the material at first, a quick search convinced him: “LP® SmartSide® felt like the perfect balance – natural wood look with improved durability and less maintenance. It’s the best of both worlds.”
 |
 |
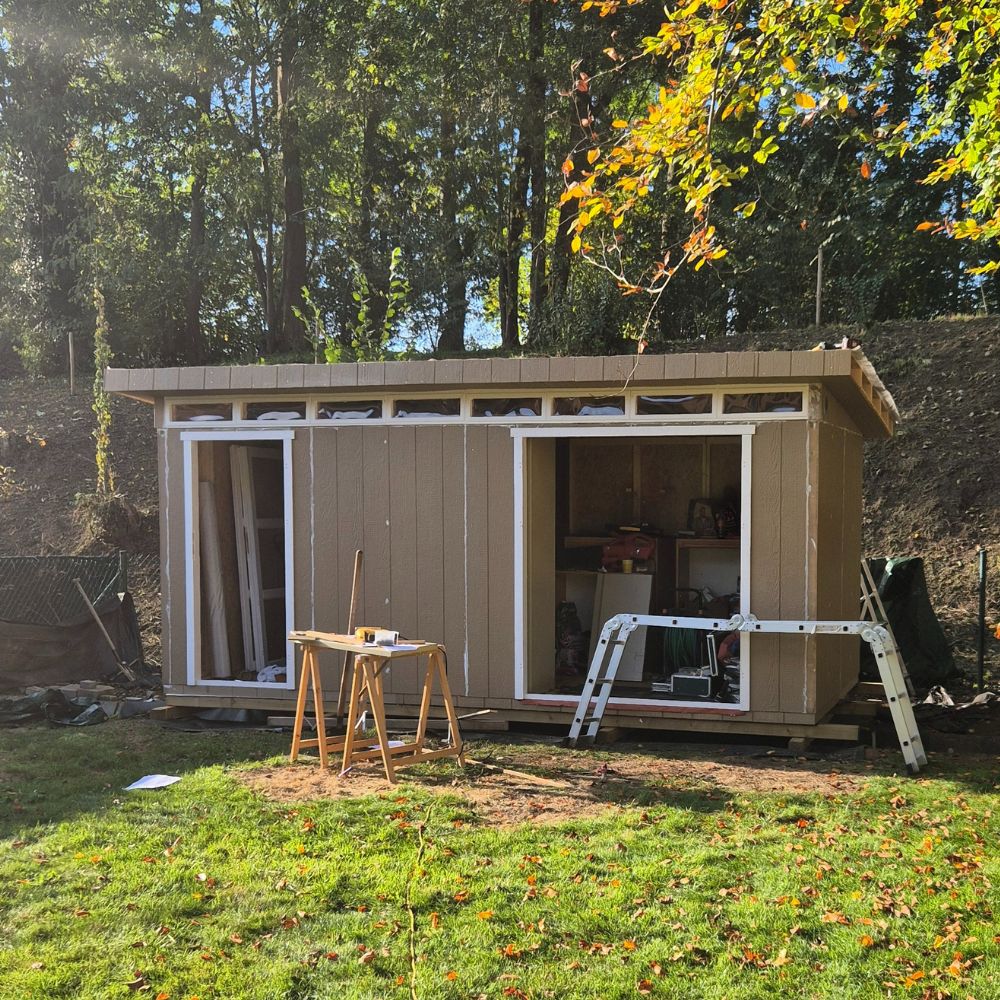
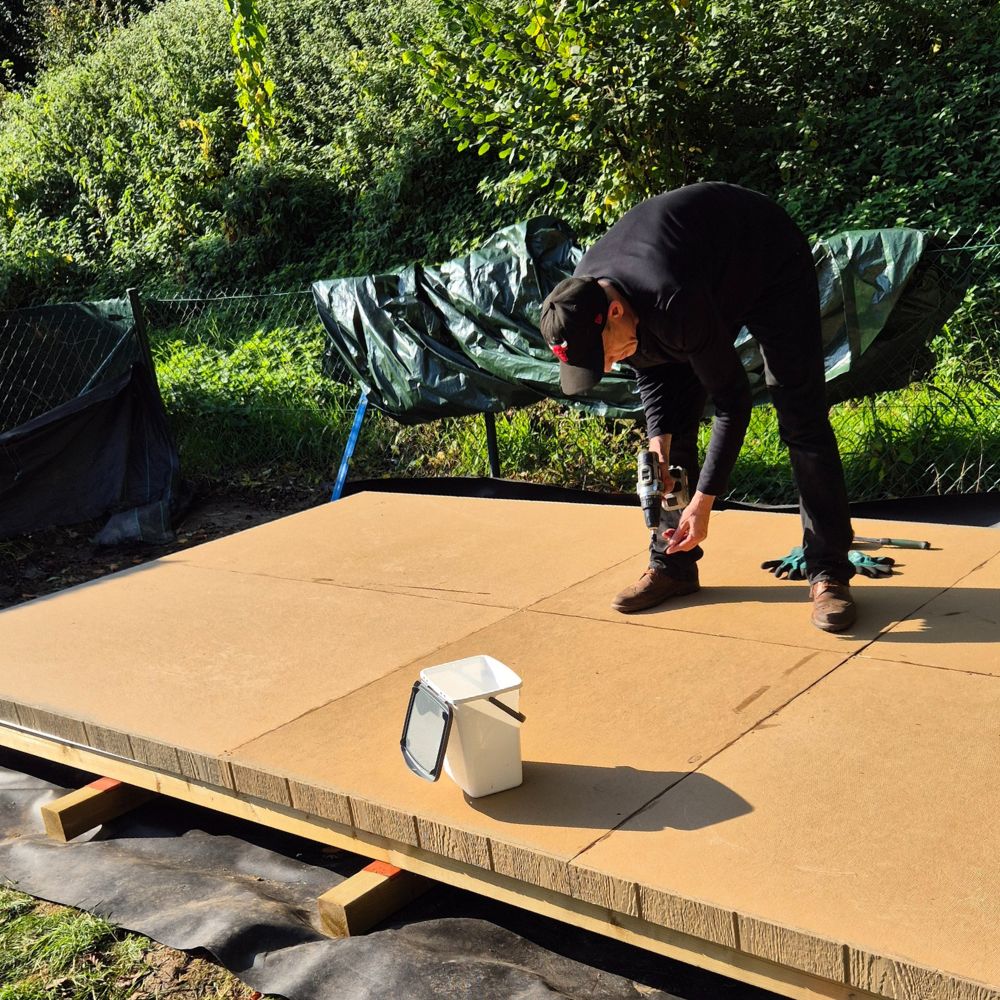
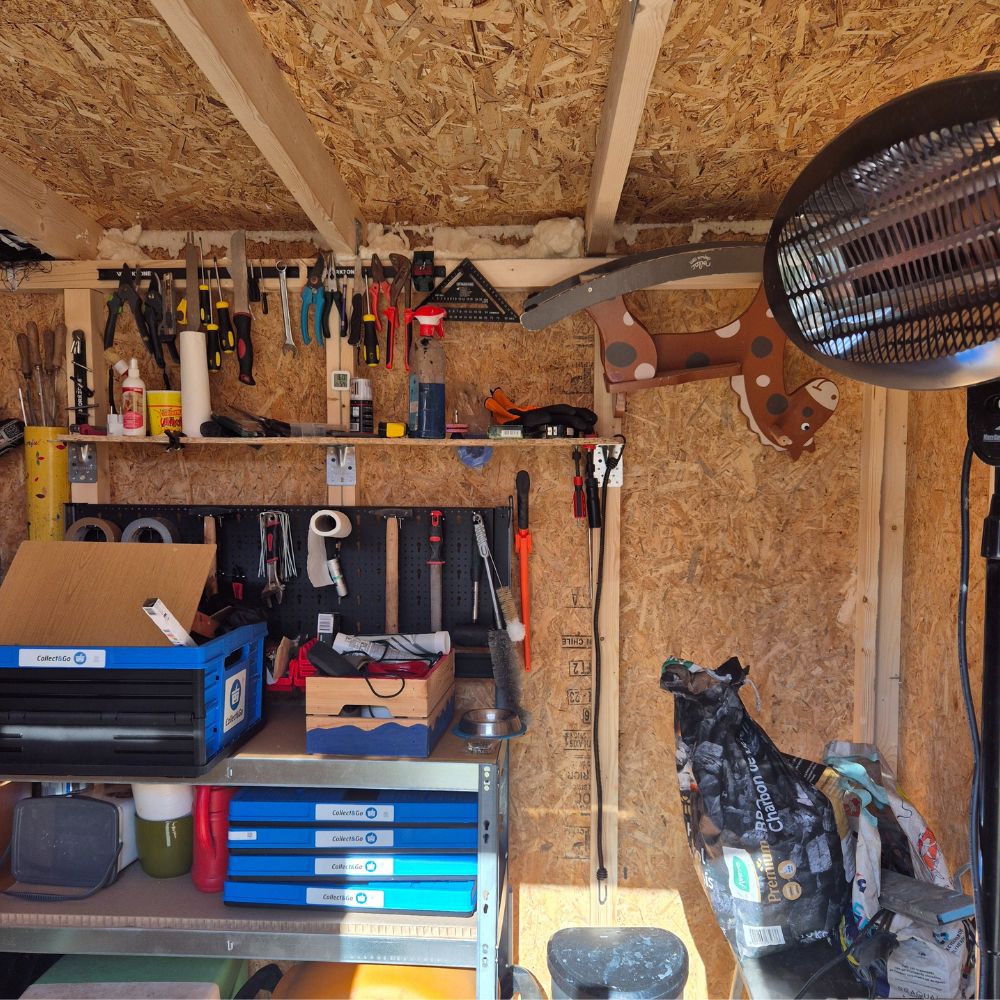
The process began with great enthusiasm, but it quickly became clear that this would require more than just screwing parts together. “The hardest part was installing the floor and roof panels – it’s a real challenge for one person. Thankfully, friends helped a few times, especially when lifting and securing the wall panels.” Even with clear instructions, there were minor challenges: “One of the roof panels didn’t align perfectly with the rafters – probably a mistake I made earlier in the process. I solved it by attaching an extra wooden batten underneath for stability.”
 |
 |
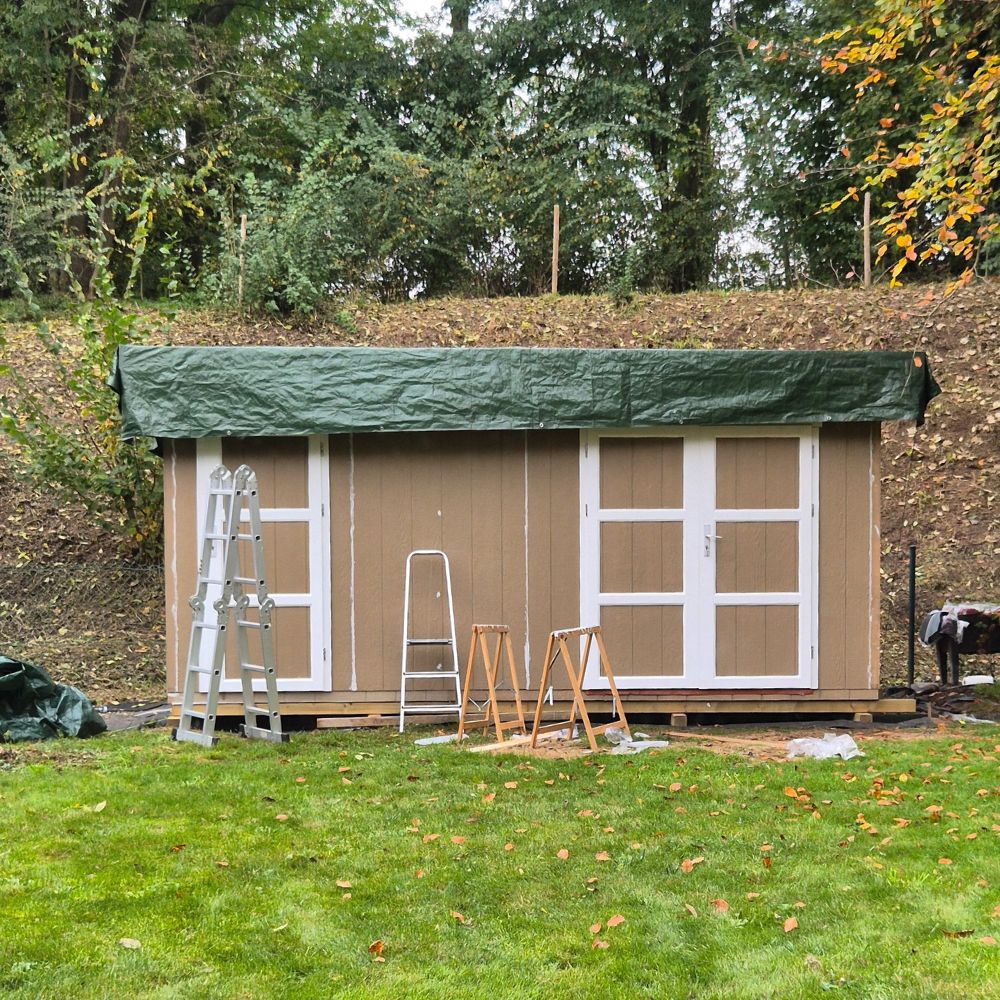
The entire build took about 5–6 full days, spread over weekends and evenings. One key decision the customer made was to paint the panels before assembly: “I wanted to take advantage of October’s mild weather, since painting outdoors in November would be too cold. Also, pre-painting helped protect all edges and corners properly.” The only regret? Not using a paint sprayer: “I thought brushing would be fast enough, but it turned out I needed two coats, and the paint didn’t apply easily – likely because of the panel texture.”
 |
 |
After completing the project, the customer shared a few tips for others:
• Study the instructions carefully in advance. He printed them in A3 and highlighted key steps.
• Have at least one helper – some tasks are just too tricky solo.
• Prepare a proper shed base – ideally a concrete slab or at least stable blocks.
• Be ready to improvise – flexibility is part of the fun.
• Invest in good sealants and moisture protection for long-term durability.
In the end, the project became more than just extra storage space – it became a skill-building experience. “The biggest joy was watching it all come together step by step. Once the roof was on, it was a true moment of pride.”


